Artist email signature examples that get you exposure
Simple steps you can take to make an effective artist email signature that will get you exposure and showcase your work.
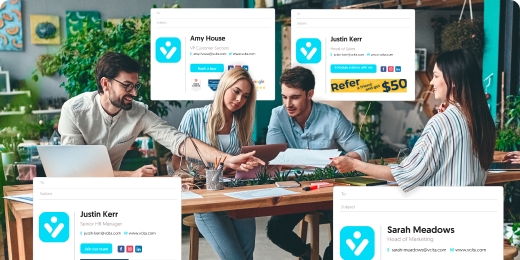
Get your inspiration from other artists’ signature made with WiseStamp
We recommend that you start exploring your signature design options with a bit of inspiration from successful signatures for others in your fields. You also have the option of going back to basics by reading our broad guide on creating a professional email signature
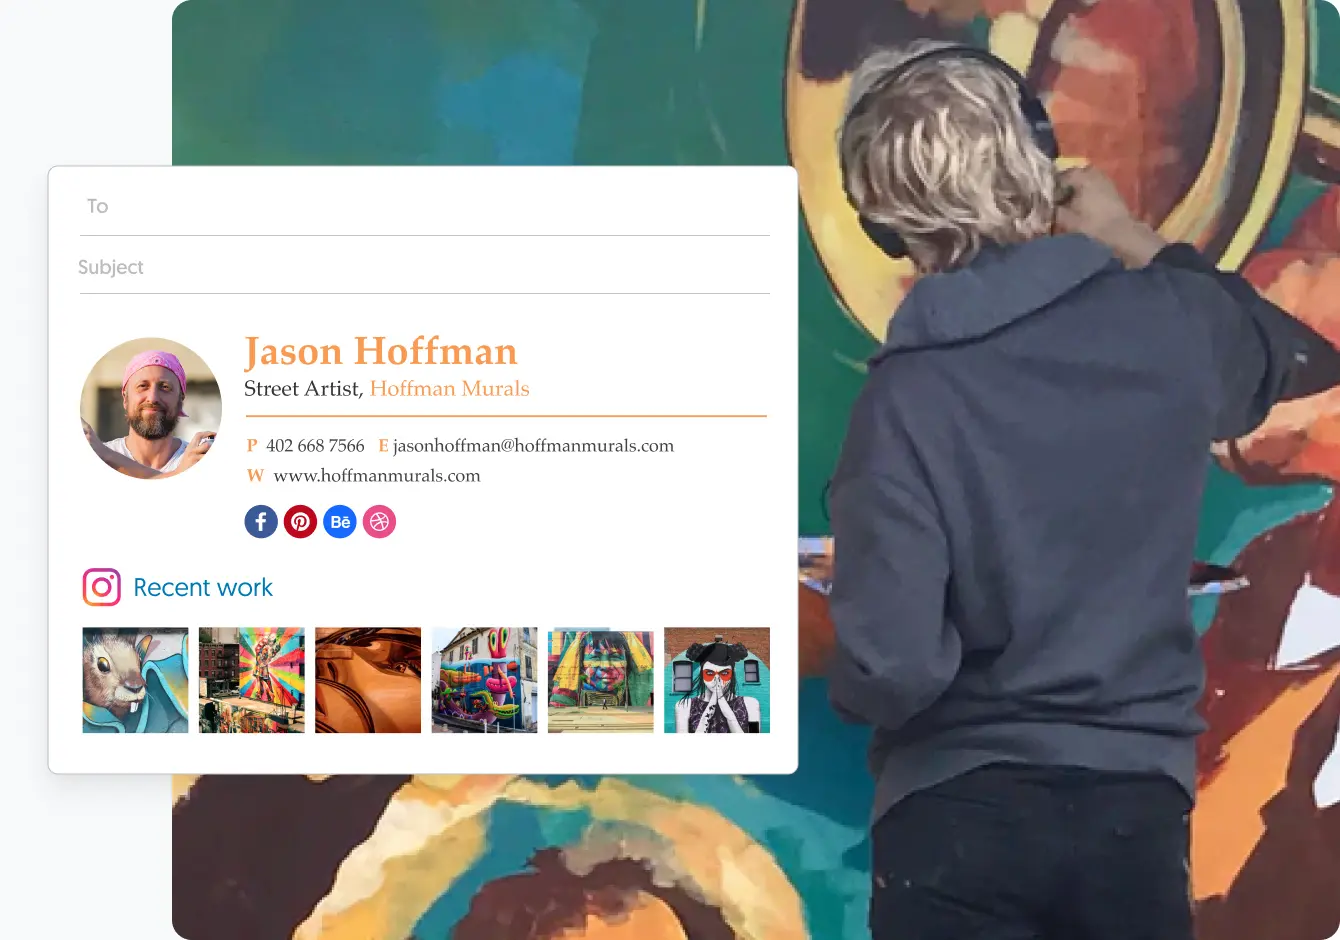
Artist signature templates you can use today
To
Subject

To
Subject

To
Subject
To
Subject
To
Subject
To
Subject
To
Subject
To
Subject

To
Subject

What details to include in your artist signature footer
- Add your full name
- Add your basic professional details, such as job title and the name of your company, brand, or place of work.
- Add your essential contact information, where people could get a hold of you directly with no middle man and where you’re regularly available.
- Add your image or your brand logo in a high resolution and an aesthetically appealing manner (simply looking at the camera and smiling will likely do the trick). You can also use a GIF (like in these examples).
- Add your website address (our signature generator will make it clickable automatically)
To
Subject
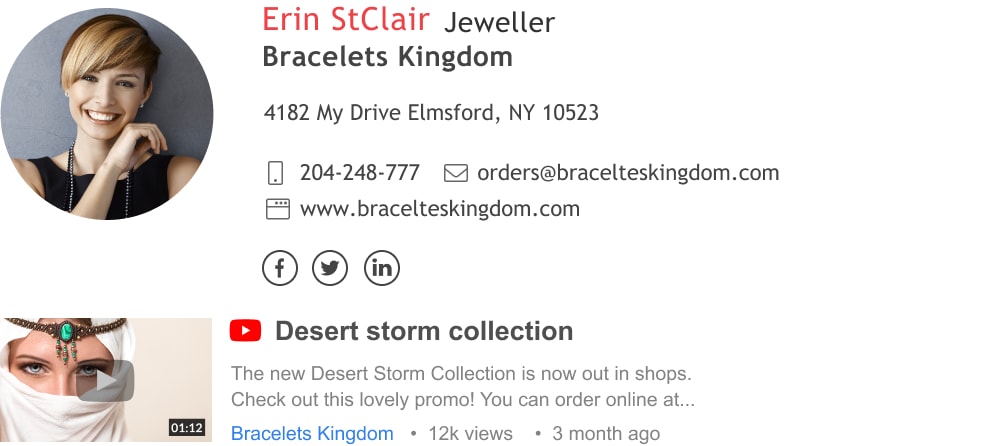
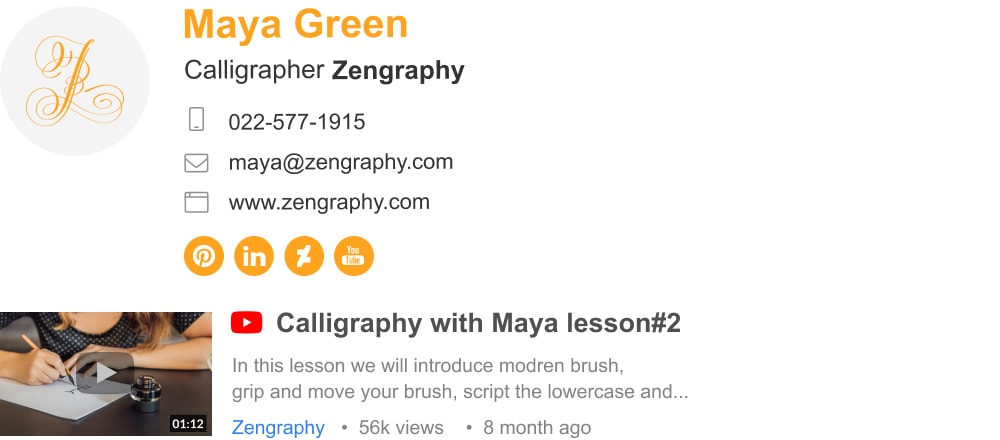
Example of artist email signature with brand logo and Youtube video
Social media links to include in your signature
Add social media icons with links to all the sites where you are exhibiting your work. It’s an easy and elegant way to present people with every digital asset you have in one place, and give them access with a click of a button.
Some of your best possibilities are:
- Dribble
- DeviantArt
- ArtStation
- Behance
- Flickr
Just choose from a premade list of icons using Wisestamp editor and add your link in the icon text field. You can even add your own custom icon.
Special signature add-ons that bring more exposure to your artwork
Your email signature is one of the most cost-efficient marketing tools you will ever encounter online. Just think of the number of daily emails you send, why not use them to attract buyers to your art or services straight from your email signature?
- Add social media buttons, like the ones available to you using Wisestamp generator, to pull increased attention to 1 or 2 sites where you have your best portfolio (like Instagram or Pinterest).
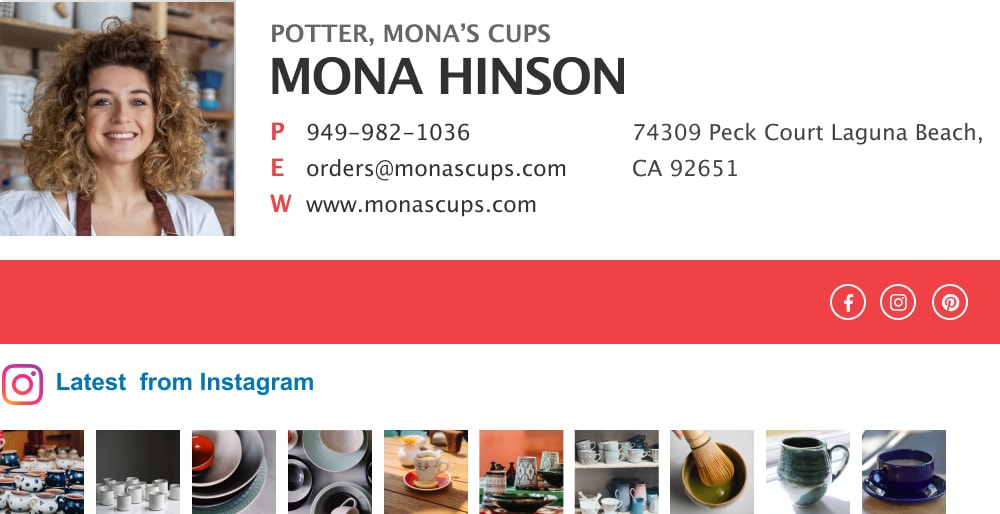
- Add an Instagram gallery that will showcase your artwork inside your email signature block.
- Add a beautiful banner with a call to action button that sends your readers to your website or landing page where they can see the artwork you have on offer.
You can find all these features and more when you create your signature, in our email generator’s add-ons tab.
To
Subject
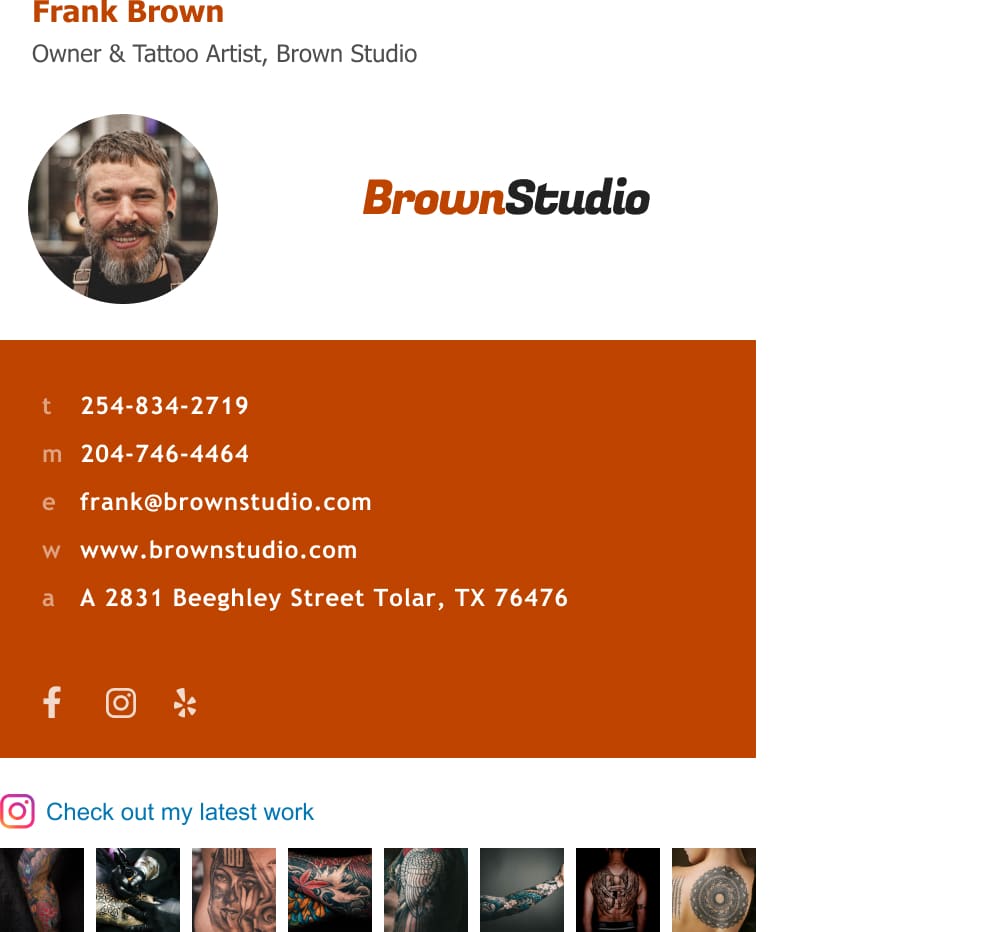
Example of artist email signature balanced use of social icons/buttons/addons
What colors and fonts to use in an artist email signature
- Choose just 1 or 2 colors that correlate with your branding.
- Choose a classic word font or Google font to make sure it will be accessible to all email platforms (or otherwise it may not show). In any case, keep it a clear readable text to make it easy for people to take in, so no cursive or handwriting fonts.
There is a wide array of great email signature examples. So, there is no right answer when it comes to colors and fonts. Remember that everybody likes different colors and in the end going with solid, popular colors may be the safest bet for you (if you still don’t have proper branding).
With regard to fonts, it’s also true that people like different styles. You should read our exhaustive post on this subject if you want to learn more about best practices for email signature fonts.
To
Subject
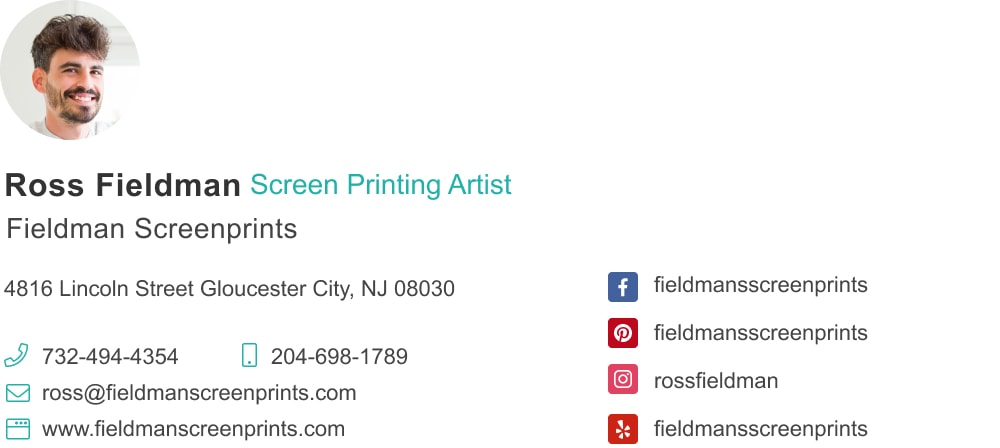
Example of artist signature with good use of colors and classic fonts
Do’s and Don’ts for an artist email signature
Do
Add a slight artistic touch to your signature, it can be in your photo, your logo, or a featured banner.
Talk to your correspondents in simple language and make sure every detail from your job title to your phone number is easily read and understood.
Don’t do
Don’t get lost with your creative impulse:
It’s easy to go overboard with design. But an email signature is not a huge billboard and stacking it with art will drown your professional information in visuals.
Don’t use vague job titles
People should get a good idea of what you do, otherwise, they won’t know if they need what you offer. It may also look like an attempt to avoid disclosing your true information (and you do not wish to create distrust).
Generate your own elegant email signature for artists
You don’t have to work hard to have a beautiful signature of your own. You can even do it now with no prior skill and be done with it within 5-10 minutes. Why not? It’s free.
WiseStamp free email signature generator